If you’ve ever added car grill lights, you know the emotional arc.
Day one: the front end looks sharper and you keep glancing back at the reflection in store windows.
Day seven: you hit a pothole and one side starts strobing like it’s trying to send Morse code.
This post is for that second part—the part nobody posts photos of. It’s a practical way to chase down a grill light problem without turning your bumper area into a science fair.
I’m keeping this focused on troubleshooting and repair. If you want the “what they are / how to choose / stay legal” overview, that’s a different post.
Before You Test Anything:Separate “light Problems” From “Vehicle Warnings”
Most issues fall into one of these categories:
- The light is the problem (dead, dim, flickering, one side out)
- The car is the problem (dash warning, bulb-out message, weird behavior only in DRL mode)
If the car is throwing a warning, it’s usually not because the LEDs are “bad.” It’s because the vehicle doesn’t like how the lights were tied in.
Grill Light Not Working at All: Start With the Stuff That Actually Fails
1) “Is it even supposed to be on right now?”
Sounds basic, but it’s real:
- Some setups only power in ACC/IGN.
- Some controllers default to “off” after restart.
- Some lights are tied to parking lights and won’t run in daytime.
Before you tear anything apart, confirm the vehicle state and the switch/controller mode.
2) Fuses: don’t eyeball them
A fuse can look fine and still be open.
If you have a test light or multimeter, check the fuse properly. If it’s blown, replace it once.
If it blows again immediately, stop—jump to the Fuse Keeps Blowing section. Replacing fuses over and over is how people melt harnesses.
3) Check for 12V where it matters
Don’t test at the battery and declare victory. Test at the grill light connector.
With the lights switched on, you should see about 12–14V at the light input (higher with engine running).
- No voltage at the light: the issue is upstream (switch, relay, trigger, broken wire).
- Voltage is present but light is dead: usually ground or a bad module.
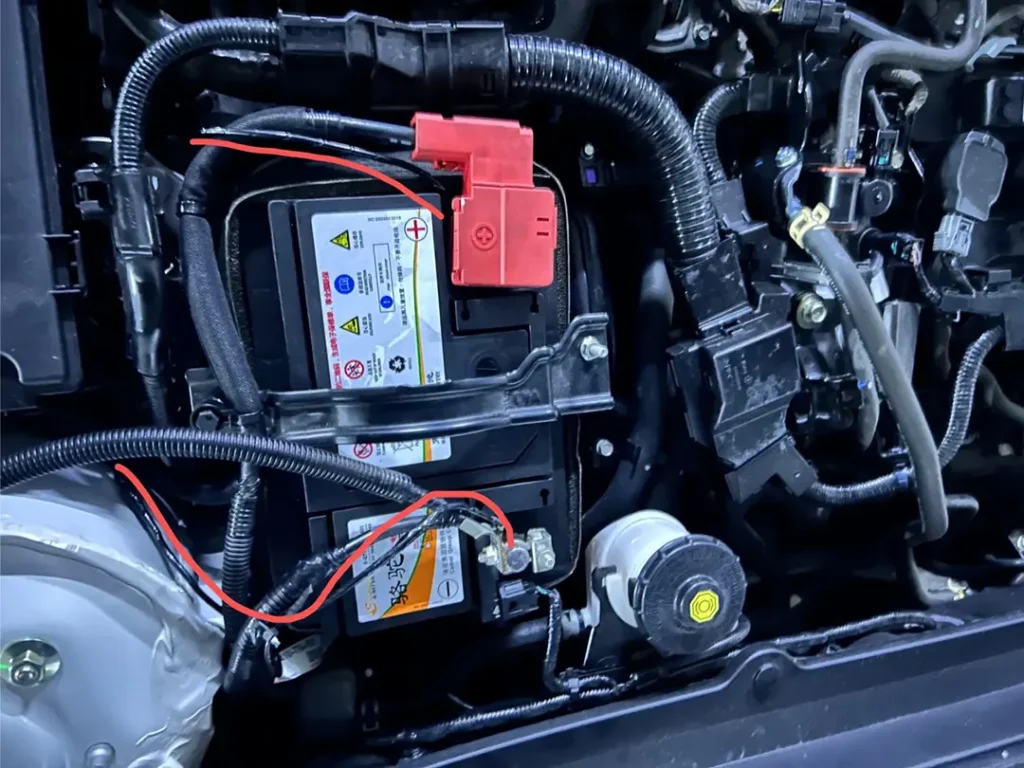
4) Grounds ruin more installs than bad lights do
A lot of “dead grill light” cases are a painted ground point, a loose bolt, or corrosion under a ring terminal.
If your ground point isn’t clean bare metal, treat it as suspicious.
A good ground fix is boring:
- scrape paint to bare metal
- use a star washer
- tighten it like you mean it
- add strain relief so vibration doesn’t loosen it later
Boring is good. Boring works.
Grill Light Flickering (Especially After Rain or on Rough Roads)
Flicker usually isn’t a mystery. It’s a connection that’s almost working.
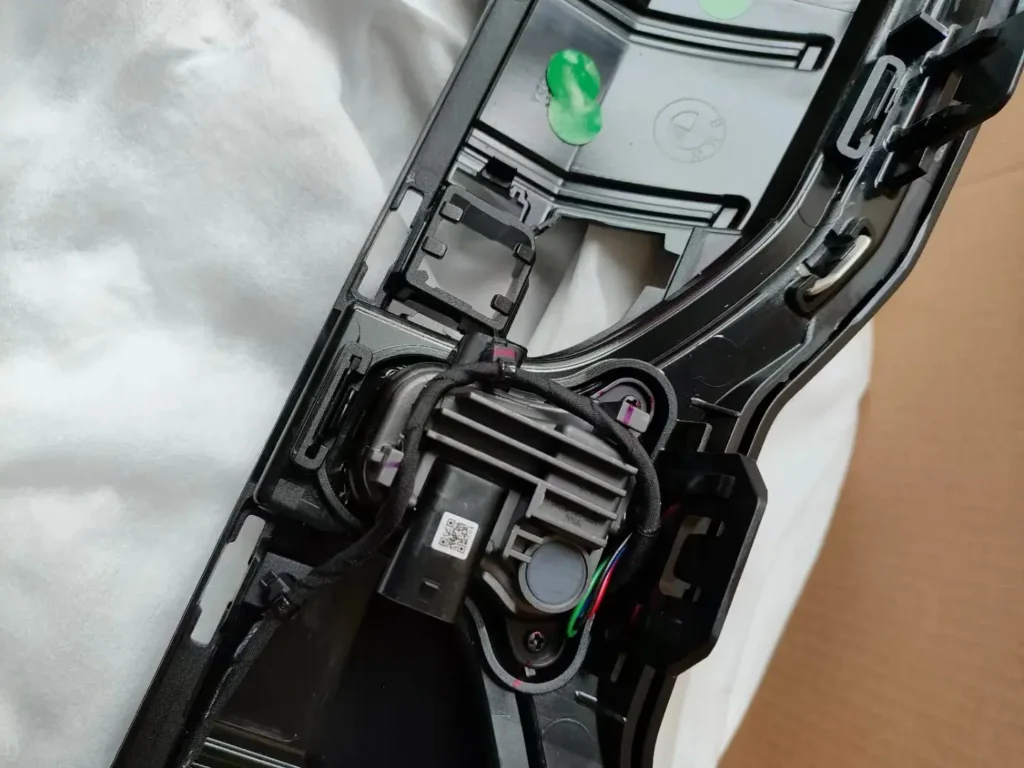
1) The wiggle test (gently)
Turn the lights on and move the harness in small sections:
- the connector at the light
- the splitter/Y-branch if your kit has one
- the controller plug
- the switch harness
If you can make it flicker on command, you’ve basically won. Now you just need to remake that connection properly.
2) Water gets in “good enough” connectors
The grille area is a splash zone. Water doesn’t need to flood anything—just a little moisture plus a mediocre pin fit can create corrosion and intermittent resistance.
Look for:
- green/white residue on terminals
- rust stains
- wet connectors after rain or washing
Fix is usually:
- dry and clean
- replace damaged terminals if pitted
- reseal the connection
- reroute so water doesn’t run straight down into the plug
3) Flicker only with engine running
If it’s stable with ignition on but flickers once the engine is running, you may be dealing with a dirty trigger source or a controller that hates electrical noise.
This shows up a lot when people tap DRL/headlight wiring on modern cars. Those circuits often use PWM signals that don’t behave like a clean on/off.
One Side Works, One Side Doesn’t
This is the classic “it was fine yesterday” complaint.
Here’s the clean way to isolate it:
1) Swap left and right (if you can)
If the connectors are the same, swap them.
- If the dead side moves, your wiring/controller is the problem.
- If the same lamp stays dead, that lamp/module is the problem.
2) Inspect the splitter
Many kits split one feed into two lights. That split point is where vibration and water love to do damage.
If the splitter is hanging loose, bouncing around behind the grille, fix that first—secure it and give it slack.
Fuse Keeps Blowing on Your Grill Light Circuit
A blown fuse is usually one of these:
- a positive wire rubbed through on metal
- a pinched wire behind the grille/bumper
- water bridging terminals inside a connector
- a reversed connection on a controller/module
A quick isolation trick:
- Unplug the grill lights from the harness.
- Replace the fuse.
- Turn the switch on.
- If the fuse holds, the short is in the light/module side.
- If it still blows, the short is in the harness/switch/relay side.
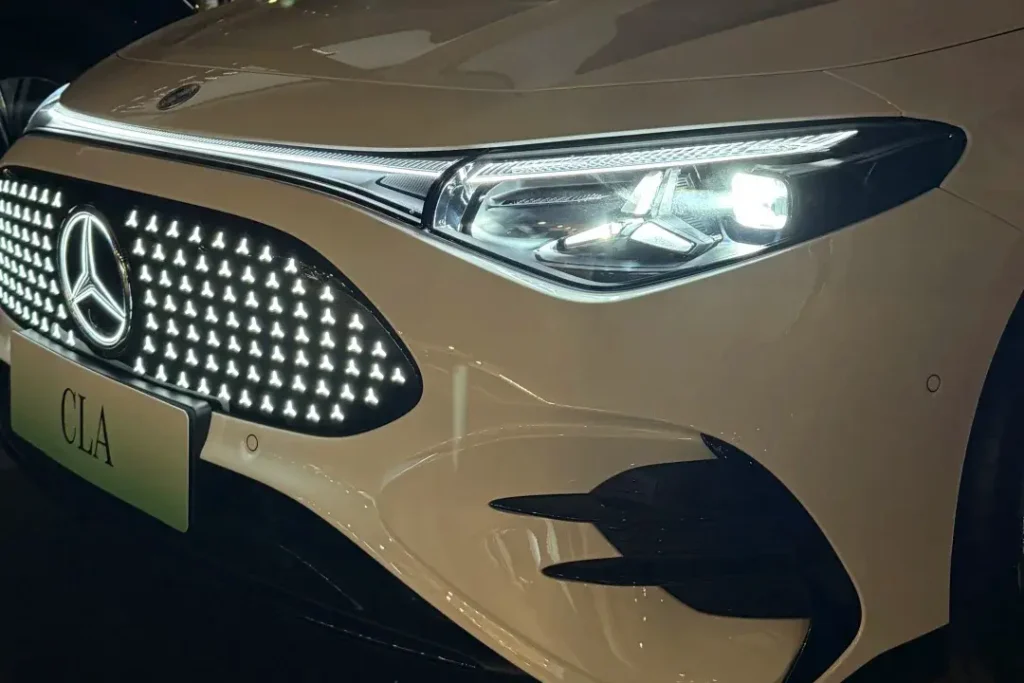
“It Works, But Now I Have a Dash Warning” (Modern Cars, Mercedes-Style Problems)
This is where people panic and assume the car is “rejecting” the lights. What’s usually happening is simpler:
Modern vehicles monitor lighting circuits. If you tapped a circuit the car watches closely, it may see:
- unexpected current draw
- weird PWM behavior
- intermittent load due to a poor connection
And it responds with a warning.
In practice, the safest direction is:
- Use the factory circuit as a signal, not as your main power feed.
- Power the grill lights from a fused supply.
- If needed, use a relay/interface so the vehicle doesn’t “see” the added load the wrong way.
If you don’t have the tools to confirm what you tapped, this is the moment to stop guessing and scan codes.
“It Won’t Turn On” Even Though Everything Looks Fine (Lincoln-Style Reality Check)
Some grille lighting (especially emblem lighting on newer SUVs) is partly controlled through vehicle settings.
So if your grill light is tied into a factory-style circuit, confirm:
- it’s enabled in the vehicle menu (where applicable)
- brightness isn’t set to minimum
- the vehicle is in the right state (ACC/ON)
If settings are correct and you still have no light, you’re back to the basics:
fuse → power at connector → ground → module.
And yes, sometimes the conclusion is boring: power is present, wiring is fine, the lamp assembly failed.
A Simple “Do This in Order” Checklist
When a grill light acts up, I run the same order every time:
- Confirm the switch/controller mode and vehicle state
- Test the fuse (don’t eyeball)
- Check for 12–14V at the light connector
- Verify ground on clean bare metal
- Wiggle-test the connector and splitter
- Look for water/corrosion
- Inspect for rubbed/pinched wires
- If the vehicle throws warnings, stop tapping monitored circuits and use a cleaner trigger method
That sequence catches most real-world failures without drama.
When to Hand It Off
If you’re dealing with repeated dash warnings, unknown factory wiring taps, or you need bumper-off access and clean re-routing, a pro install is worth it. Not because the job is “hard,” but because one sloppy fix can create problems you didn’t have before.
Bottom line: car grill lights don’t fail randomly. They fail where cars punish wiring: connections, grounds, water exposure, and the way the signal is integrated. Fix those, and the lights usually behave like they’re supposed to.