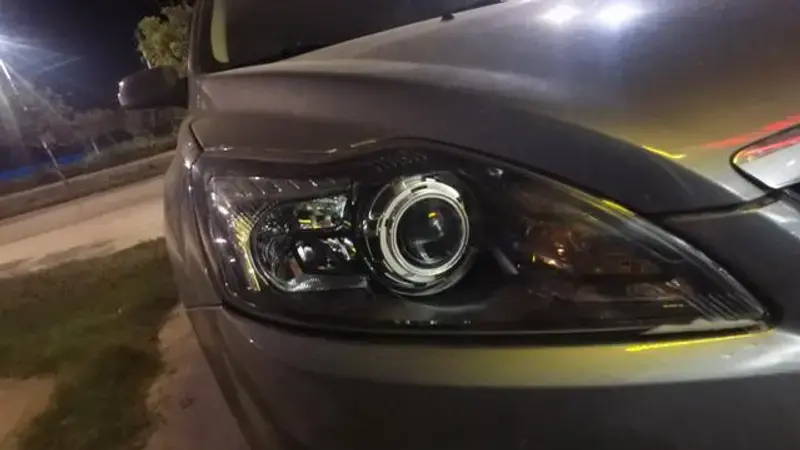
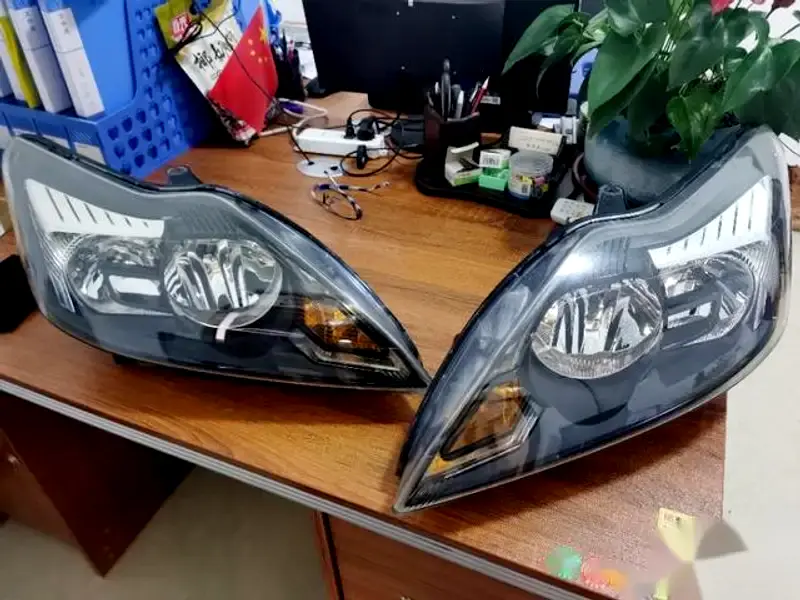
On a rainy winter night, a 2010 Ford Focus rolled into a familiar problem: the car was dependable, the engine felt fine, the tires were decent—but the headlights made driving feel like guesswork.
From the factory, this Focus used halogen for both low beams and high beams. In daylight, nobody cared. After dark, the road ahead turned yellow and thin, like the driver was trying to navigate with two small candles instead of proper lighting. That discomfort—especially on wet pavement—sparked the decision to upgrade.
This article documents the process in a practical, story-led way: how the retrofit plan was chosen, what parts and tools were necessary, where DIY installers typically make mistakes, and why aiming and sealing matter as much as the projector itself. The goal is not just “brighter,” but safer, cleaner light with less glare risk when adjusted correctly.
Why Projector Headlights Were the Upgrade Path (Not Just a Bulb Swap)
Many owners start by searching for brighter bulbs. But a headlight system isn’t only a light source—it’s optics.
Halogen reflector housings are designed around a specific filament position and beam spread. Swapping bulbs alone often increases scatter and glare, especially when the housing can’t control the light precisely. That’s why phares projecteurs are such a common solution: projectors use a lens and cutoff shield to shape light into a controlled beam pattern.
For this Focus owner, the priority wasn’t style. It was:
- clearer lane visibility on dark roads
- less strain during night driving
- a cleaner cutoff line to reduce glare when aimed properly
Choosing Bi Projector Headlights: The Best Value for a Split High/Low Setup
Headlight designs vary by vehicle. In general, they fall into two categories:
- Combined high/low: one section does both functions
- Split high/low: separate low-beam and high-beam sections
This 2010 Focus used a split design—low beam and high beam were separate. That detail shaped the retrofit strategy.
The most cost-effective approach for many split-design headlights is upgrading the feux de croisement avec phares bi-projecteurs, while keeping the factory halogen high beams. Done correctly, the result is often described as “2 low, 4 high”:
- 2 projector low beams
- 2 projector high beams (via the bi-function shield)
- plus the original 2 halogen high beams
Keeping the original halogen highs can also be useful in rain or fog, where some drivers prefer the way halogen light cuts through certain conditions.
Parts and Tools: What Was Purchased for the DIY Retrofit
Because this was a first-time DIY retrofit, the owner planned for more than just the core components. The parts create performance—but tools protect the housing and determine whether the headlights stay dry and reliable months later.
Main components
- A pair of projector lenses (the build used Leding projectors)
- Matching shrouds (two common styles: plain, or with angel-eye mounting holes)
- Wiring harness (included)
- Butyl “snake glue” sealant (enough for two headlights)
Tools and supplies used
- Heat gun (for opening housings)
- “Cold glue” headlight separation liquid (for factory sealant)
- Drill + bits (for mounting holes)
- Rotary tool / grinder (to trim reflector bowls)
- Heat shrink tubing (for insulation and strain relief)
- Silicone/sealant (for rear cover waterproofing and ballast mounting)
- Basic pry tools and headlight removal tools
A key takeaway here: most “bad retrofit outcomes” are not caused by projector quality. They’re caused by rushed disassembly, sloppy mounting, or weak resealing.
Opening the Headlight Housing: The First Real Difficulty
The factory headlight on this Focus was sealed with cold glue. Professional shops may use an oven with controlled temperature; in this DIY build, a heat gun was used.
The method was straightforward but required patience:
- heat the perimeter evenly
- separate the lens carefully without stressing tabs
- use cold-glue liquid to soften stubborn adhesive and help with cleanup
After the lens was removed, the sealing channel was cleaned thoroughly.
Why that cleaning step matters: leftover adhesive prevents even compression when resealing, which can cause condensation and fogging later.
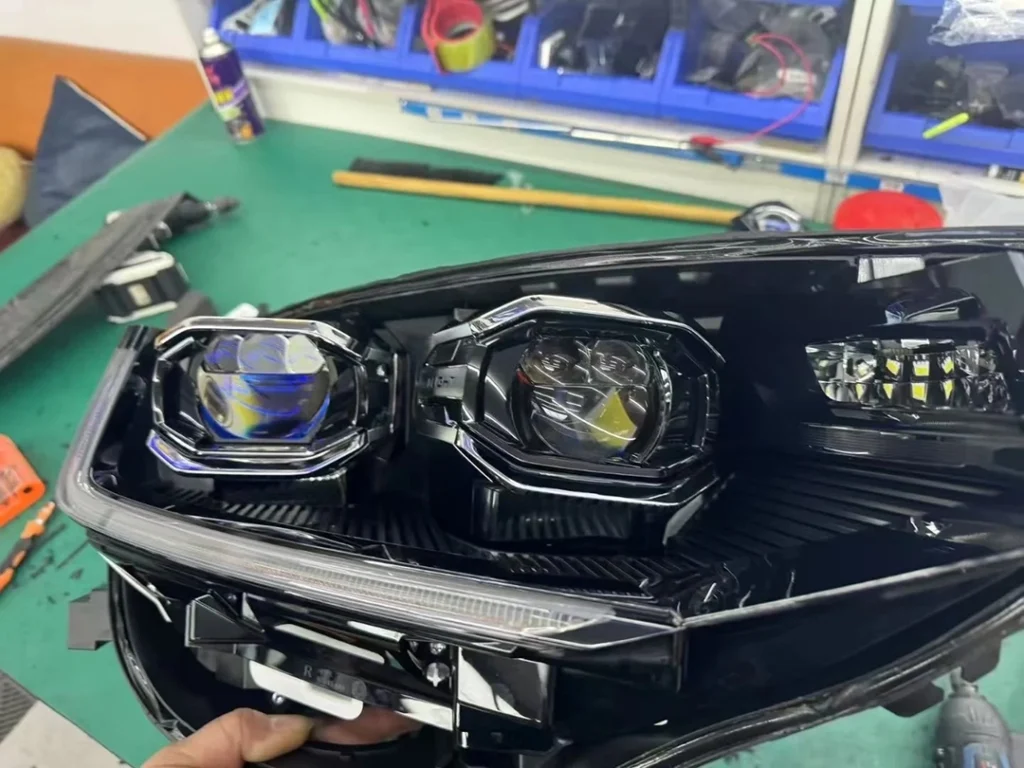
Installing the Projector: Where Alignment Errors Begin
If opening the housing is the first challenge, projector mounting is the skill that decides beam quality.
The projector must be:
- centered in the reflector bowl
- level (to avoid a tilted cutoff line)
- secure (so it won’t rotate under vibration and heat cycles)
Most experienced retrofitters use a positioning bracket/jig, then drill with confidence.
In this build, a shortcut was attempted: the projector was roughly held in place with screws, marked, then drilled—without a proper jig.
What happened next
The mounting position was off enough to create significant aiming trouble later. The projector could be installed, but the alignment correction took far more time than expected.
Recommendation for first-time DIY installers
Use a positioning bracket/jig. The cost is small compared to the hours lost correcting a crooked cutoff.
After drilling, the reflector bowl was trimmed using a rotary tool so the projector could sit properly. The projector was then installed and set to a rough level angle for later fine tuning.
Wiring and Function Testing: Confirm Everything Before Sealing
With the projector mounted, wiring came next.
In this setup:
- the bulb power was connected to the vehicle’s original low-beam circuit (polarity matters; reversed polarity means no ignition)
- the bi-projector high-beam solenoid (“flip” function) was connected to the vehicle’s high-beam circuit (in many cases, solenoids are not polarity-sensitive)
Before sealing the headlight, the owner tested:
- low beam ignition and stable output
- high beam function (shield movement)
- no flicker, no intermittent connection
The first beam test made the benefit obvious: the light looked more controlled and more usable, not just “more intense.”
Initial Beam Aiming: Do This on the Car, Before Final Resealing
This step is often skipped—then regretted.
Before final sealing, the headlight was loosely assembled and installed back onto the vehicle for a preliminary aim check. This is where the earlier mounting deviation became visible.
If the beam is significantly tilted or shifted, factory adjusters may not be able to correct it after sealing. Those adjusters are intended for small changes, not structural errors inside the housing.
Practical rule: if the beam is “way off,” fix the mounting position before the lens is sealed permanently.
Resealing and Reinstalling: The Difference Between “Looks Good” and “Lasts Years”
Once aiming was acceptable, resealing began.
Butyl snake glue was laid evenly in the channel, warmed with the heat gun until soft, then the lens was pressed on and clipped. Excess sealant was cleaned away, and the headlight was strapped/clamped lightly and left to cure overnight.
To finish the install:
- the rear cover was modified for wiring pass-through and sealed with silicone
- ballasts were mounted securely (and protected from moisture as much as possible)
- final installation and fine aiming were done using the factory adjusters
Common Retrofit Mistakes (Seen Often in Projector Headlights Builds)
Even when the parts are good, these mistakes can ruin outcomes:
- Skipping the jig: poor projector positioning leads to tilted cutoff lines
- No pre-seal aim check: sealing first makes correction hard or impossible
- Dirty sealing channel: leftover glue causes leaks and fogging
- Rushed wiring: weak insulation and routing leads to intermittent faults
- Aiming too high: creates glare risk and unwanted attention on the road
Note: Always aim properly and follow local regulations. A clean projector cutoff helps, but correct aiming is what prevents glare.
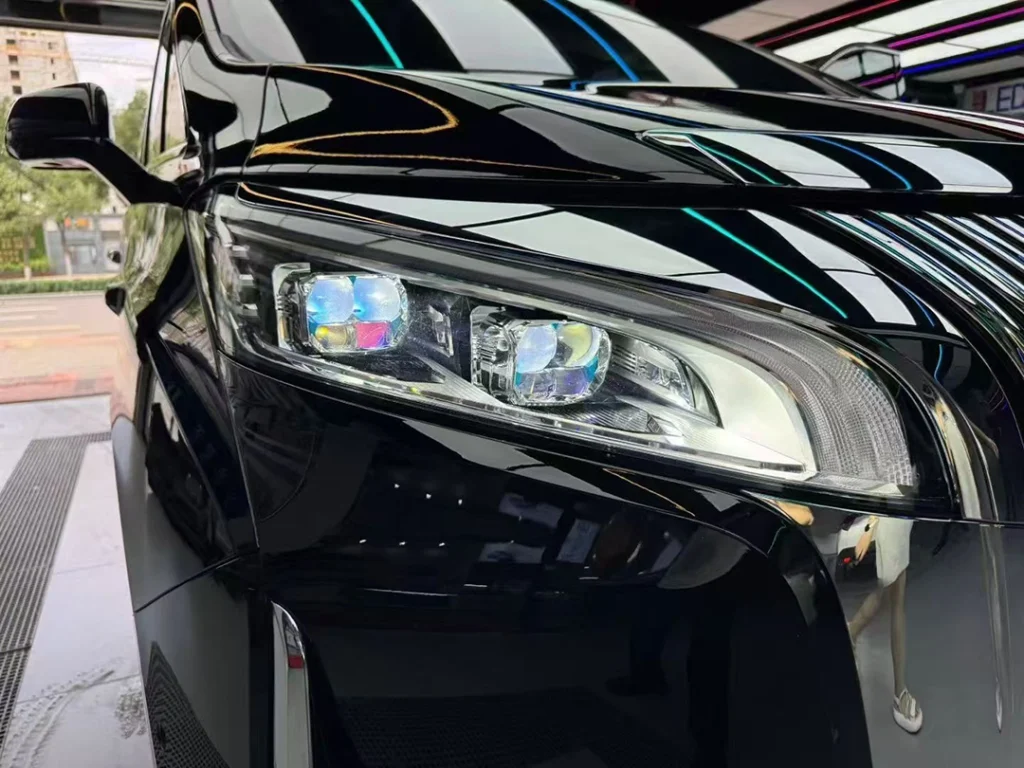
Final Result: A More Confident Night Drive (Because Light Was Controlled)
For this 2010 Focus, the upgrade wasn’t about showing off. It was about removing stress from night driving.
The retrofit worked because it respected the full system:
- optics (projector beam control)
- mechanics (mounting alignment)
- electrics (stable wiring and testing)
- sealing (butyl reseal and waterproofing)
- aiming (checked before and after final assembly)
That’s the real lesson behind successful phares bi-projecteurs: parts matter, but process decides whether the upgrade feels factory—or feels like a problem waiting to happen.
If you want this turned into a version tailored to your brand (with internal links, product callouts, and a softer CTA), share your target page URL and preferred tone (technical vs beginner-friendly).