Swift owners don’t usually complain about headlights in the daytime. The frustration starts on an unlit highway, in heavy rain, or on a dusty two-lane road where the “bright” beam turns into glare and reflections. If you’ve ever felt like your lights are working hard but not working well, you’re not alone.
This guide focuses on what actually improves night visibility on a Maruti Suzuki Swift: knowing what you already have, understanding projectors बनाम reflectors, deciding if LED is worth it, and avoiding common upgrade mistakes that make the road brighter but not clearer.
What type of headlight does a Swift use?
Most Swifts on Indian roads fall into one of these setups (depending on generation and variant):
- Halogen reflector headlamps (most common): a shiny reflector bowl behind the bulb. Simple, affordable, and okay in the city—until speeds go up or lighting goes down.
- Projector-style headlamps (on some trims/editions): a round lens inside the housing that shapes the beam, usually with a sharper cutoff and better control.
There’s no “one Swift headlight” across all years. Even within the same model year, trims can differ. The good news is you can confirm what you have in under a minute (next section).
How do I tell if my headlights are projectors?
There are three easy checks that don’t require tools.
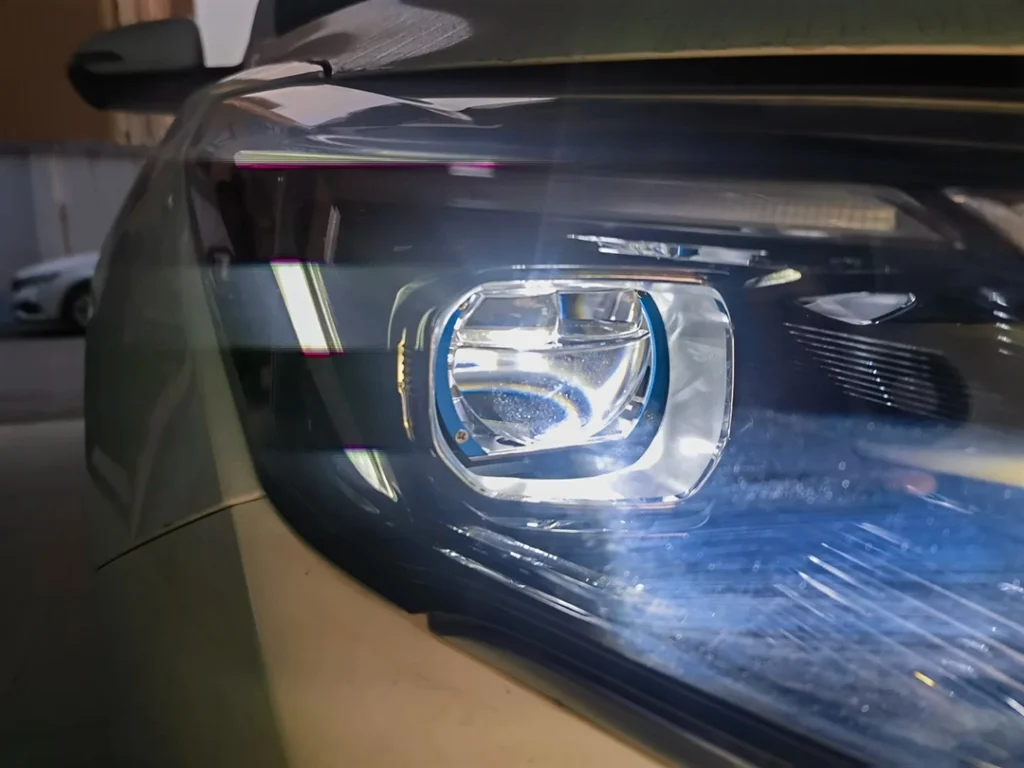
1) The lens “eyeball” check
Look at your headlamp internals:
- Projector: you’ll see a round lens (it looks like a small glass eye).
- Reflector: no round lens—just an open reflector bowl and bulb.
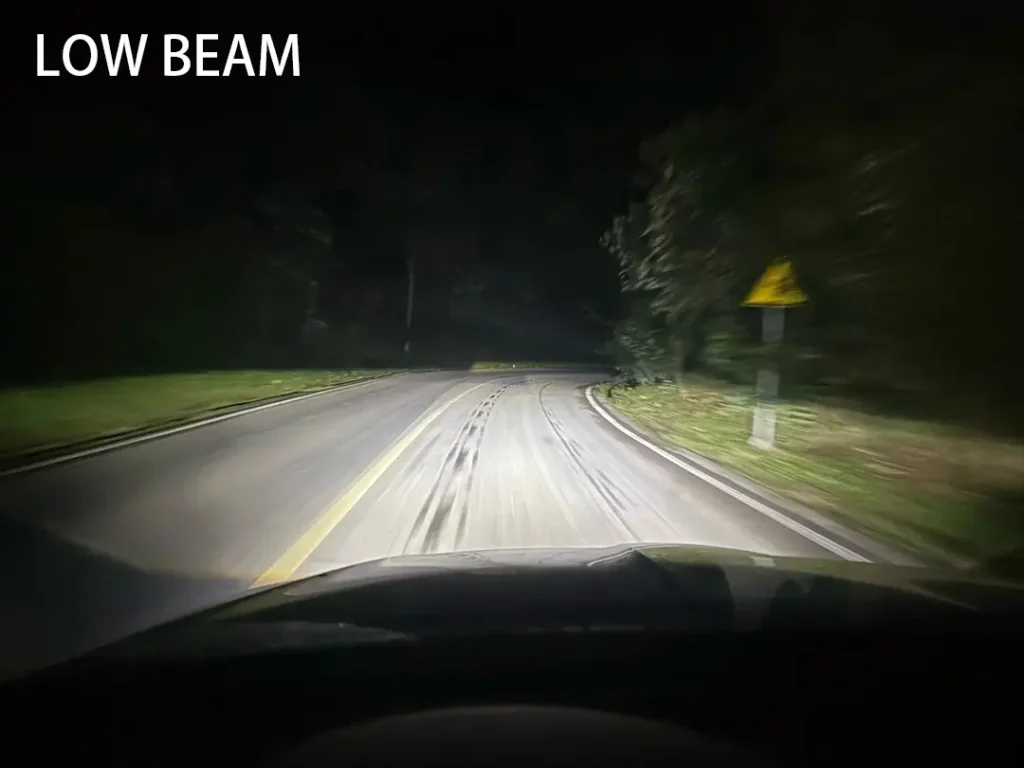
2) The wall test (most reliable)
Park 5–8 meters from a wall at night and switch on low beam:
- Projector beam: a clean, sharp cutoff line across the wall.
- Reflector beam: a softer, more scattered edge with more light spill above the main beam.
3) The “glare clues” check
If oncoming drivers flash you frequently despite you using low beam, it can mean:
- your aim is too high,
- your reflector housing is scattering light (aged lens),
- or you’re running a bulb type that doesn’t match the optics.
Projector doesn’t automatically mean “no glare”—but a good projector makes glare control much easier.
Are LED headlights better for a Swift?
They can be, but only when the beam pattern stays correct.
LED brings real advantages:
- bright output with low power draw,
- instant response,
- long lifespan (when cooled properly).
But here’s the catch: a Swift’s headlamp optics were designed around a specific light source. If you put an LED bulb into a reflector housing designed for halogen, you may get:
- a brighter foreground (right in front of the car),
- worse distance reach,
- more scatter and glare.
तो ईमानदार जवाब है:
- LED is excellent in a proper LED projector module or a well-matched housing.
- LED can be disappointing or annoying (to others) in a mismatched reflector setup.
If your main goal is better night driving, beam pattern matters as much as brightness.
Which headlights are best for night driving?
For the Swift, “best” usually means: maximum usable road illumination with minimum glare, especially in rain and dust.
The best-performing formula
Good optics + correct bulb/module + proper aim + clear lens
That’s it. Not “highest lumens” and not “coolest color.”
Projector vs reflector (real-world difference)
- Projectors (quality units) tend to give:
- defined cutoff (less glare),
- stronger hotspot (better reach),
- more consistent spread across the lane.
- Reflectors can work well when:
- the lens is crystal clear,
- bulbs are correctly spec’d,
- and the housing design is good (some are, many are average).
Don’t ignore lens condition
A yellowed/hazy headlamp lens can destroy output. Many “headlight upgrades” feel underwhelming because the outer lens is acting like a foggy window. If your lens is hazy, consider restoration or replacement before spending big on new internals.
Color temperature: keep it sensible
Very cool, blue-ish light often looks bright in photos but performs worse in:
- rain (more backscatter),
- fog,
- dusty air (more glare haze).
A sensible white tends to feel calmer and more usable on Indian roads.
Can I upgrade to LED Swift headlights?
Yes—and you have three common paths. The best choice depends on budget, housing condition, and how much night driving you do.
Option 1 — LED bulbs in stock reflector (fast and cheap, but not always better)
- Pros: quick install, lower cost.
- Cons: beam scatter risk; may increase glare; performance depends heavily on bulb design and alignment.
This is the option most people try first. Sometimes it’s acceptable, sometimes it’s the beginning of a long “try-and-cry” journey.
Option 2 — Projector retrofit in your existing headlamp (best value when done right)
A retrofit puts a projector module inside your current housing.
- Pros: better beam control; sharper cutoff; often the best night-driving improvement.
- Cons: needs skilled opening/sealing; alignment is critical.
If your headlamp lens is clear and the housing isn’t damaged, this route is often the sweet spot.
Option 3 — Full headlamp assembly upgrade (clean look, simpler install)
- Pros: neat appearance; quicker turnaround.
- Cons: can cost more; quality varies—cheap assemblies can have weak optics and poor sealing.
If you’re doing a full assembly, choose carefully. A “projector-looking” headlamp is not the same thing as a good projector.
Swift Projector Headlight Price India (and Swift Dzire projector headlight price)
Pricing in India varies because you’re not just buying a “headlight”—you’re buying parts + workmanship + wiring quality + fit/finish. For Swift and Dzire owners, quotes usually depend on generation and whether you’re doing a अनुकूलन या एक full assembly.
Here’s a clean way to explain it (matching your other blog’s positioning):
- रिट्रोफ़िट मार्ग (आपके मौजूदा हेडलैम्प के अंदर प्रोजेक्टर): often the value-for-money option if your lens is clear and the housing isn’t damaged. You’ll pay for the projector, shrouds, wiring/रिले if needed, and labour.
- पूर्ण हेडलैंप असेंबली मार्ग: cleaner look, quicker install, but generally costs more—especially if you prefer OEM-like fit and finish.
भारत में लागत बढ़ाने वाले सामान्य कारक
- हैलोजन बनाम एलईडी प्रोजेक्टर प्रकार
- Whether you add DRLs or sequential indicators
- वायरिंग की गुणवत्ता (रिले, उचित कनेक्टर्स, तार न काटना)
- हेडलैम्प की स्थिति (पीली हो चुकी लेंस अपग्रेड को बर्बाद कर सकती हैं)
यदि आप ज्यादातर शहर में ड्राइविंग करते हैं, तो एक सही दिशा में लगा प्रोजेक्टर, जिसका रंग तापमान उचित हो (बहुत नीली रोशनी से बचें), बारिश और धूल में सबसे अच्छा काम करता है।.
(If you want to avoid keyword cannibalization with your dedicated pricing article, keep this section short—like it is here—and link out to your full price guide.)
How to change swift headlight? (basic, real-world overview)
Exact steps vary by Swift generation, but the workflow is usually similar. This is a practical overview that prevents the most common breakages.
Before you start
- Park on level ground, switch off ignition.
- Let bulbs cool completely.
- Disconnect the battery if you’ll touch wiring connectors.
- Have gloves ready (skin oils on halogen bulbs can shorten life).
Access and removal (what most Swifts require)
- Open the bonnet and locate the rear of the headlamp assembly.
- On some models, you can access bulbs from behind; on others, you may need to loosen or remove parts around the headlamp area.
- Disconnect the headlamp connector.
- Remove the dust cap (if present), then release the bulb holder/clip.
- Replace the bulb (or remove the whole assembly if you’re swapping the unit).
- Refit dust caps and connectors firmly.
The two mistakes that cause most headaches
- Poor sealing (dust cap not seated / housing not sealed after retrofit): leads to fogging and moisture.
- Skipping aim adjustment: even a good upgrade feels bad if it’s pointed wrong.
Aiming (the unglamorous step that makes upgrades work)
After any bulb or headlamp change:
- Do a wall test on level ground.
- Make sure low beam cutoff isn’t too high.
- Check on-road: you should light your lane and shoulder without lighting up oncoming cabins.
A few upgrade “truths” Swift owners learn the hard way
Bright does not mean safe
A scatter-y beam can look impressive to the driver because everything nearby is lit up, but distance visibility can be worse. That’s dangerous at highway speeds.
Wiring quality matters more than marketing
Voltage drop from thin wiring, poor grounds, and cheap couplers can make “powerful” lights underperform. Good relays and clean connections aren’t exciting—until you compare output.
If people flash you, don’t argue—aim
Oncoming flashes are the road’s feedback form. If you’re getting them often, fix aim first, then check optics compatibility.
Practical takeaway: the best night-driving upgrade path for a Swift
If you want the most consistent results without wasting money:
- Check what you have (projector or reflector) using the lens/wall test.
- Fix lens clarity (restore/replace if hazy).
- Choose a sensible upgrade path:
- mild city use: good halogen + clear lens + proper aim can be enough,
- regular highways: consider a quality projector solution (retrofit or good assembly),
- if going LED: prioritize बीम नियंत्रण, not just brightness claims.
- Aim the headlights properly after any change.
That’s the difference between a setup that looks bright in a parking lot and one that actually helps you drive calmly at night.