Quick take (for skimmers)
Most Raptor grille-light installs don’t “fail” electrically—they fail visually: uneven spacing, lights shoved too close to the letters, and glare that turns the grille into a glowing billboard. Get the layout right first, and the rest gets easier.
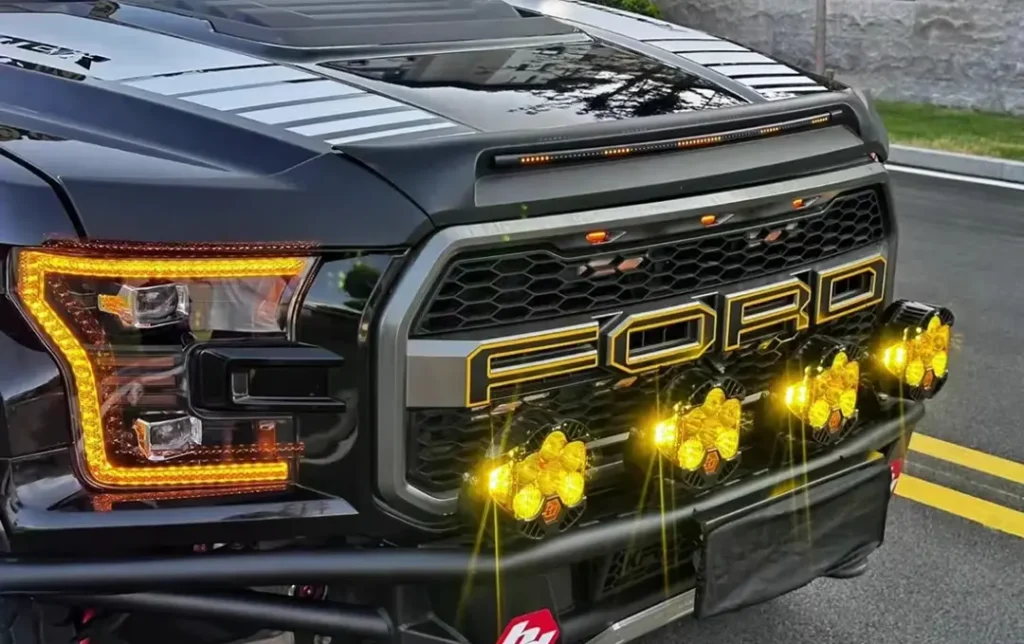
Why Raptor grill lights are different (and why people notice when it’s “off”)
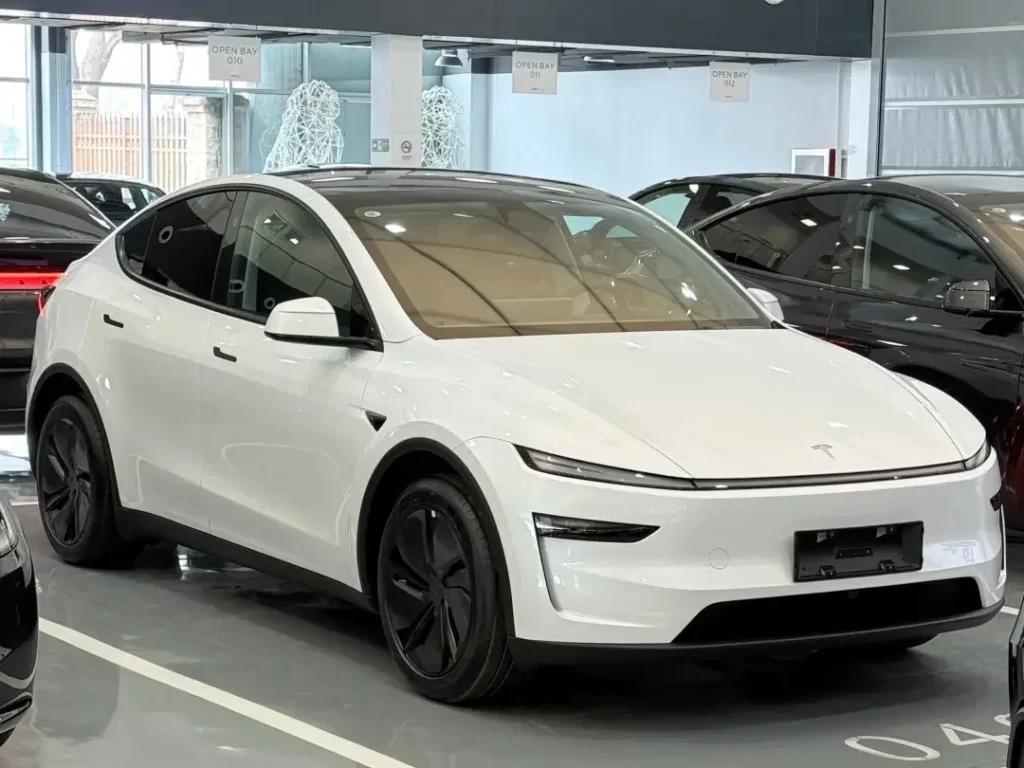
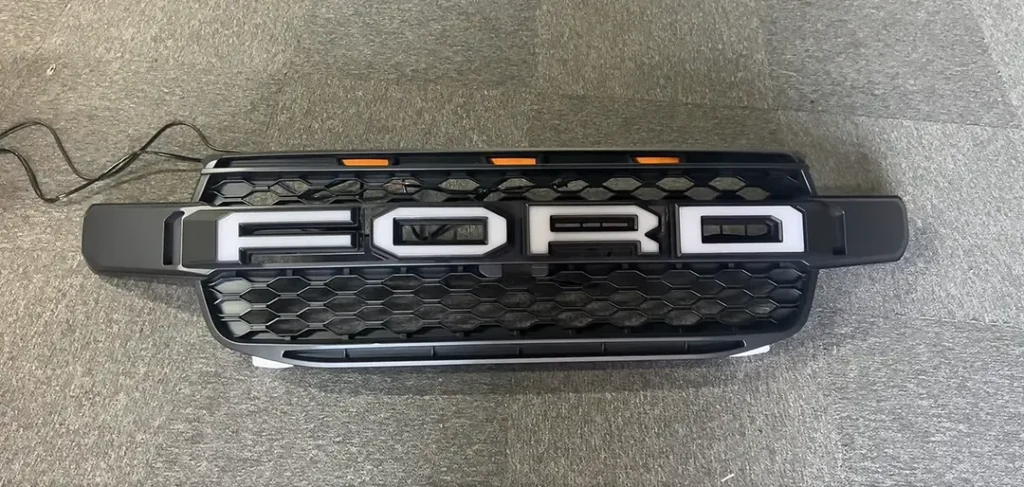
The Raptor front end is basically a design statement: big “FORD” letters, lots of negative space, and a grille that’s meant to look intentional. That’s great—until you add lights and accidentally make the front look busy, uneven, or harsh at night.
Raptor owners usually want one of three outcomes:
- OEM-plus: subtle markers that look like Ford could’ve shipped them.
- Functional presence: more visible in spray/dust without screaming “mods.”
- Off-road/show vibe: more aggressive, but still clean and symmetrical.
The trick is that all three outcomes share the same foundation: symmetry, consistent height, and spacing that respects the letter geometry.
Choose the “feel” first: 3 vs 4 vs 5 lights
You can make any count work, but each one has a personality—and a risk.
3-light layout (the safest OEM-plus choice)
A 3-light setup tends to look factory because it leaves plenty of negative space. It reads like “marker accents,” not like a light bar chopped into dots.
Terbaik untuk:
- Clean daily driver builds
- People who hate visual clutter
- Anyone who wants the least glare/reflection drama
Typical mistake: putting all three too tight near the center. If the cluster becomes a bright blob, it stops reading as separate markers.
4-light layout (balanced, but spacing matters more)
Four lights can look incredibly tidy because it’s naturally symmetrical. But it’s also the count where people start “eyeballing” spacing and getting it slightly wrong—then it’s all you can see.
Terbaik untuk:
- Builders who care about symmetry
- Grilles with clear, repeatable mounting points
Typical mistake: spacing that’s equal by measurement but looks uneven because it’s not aligned with the visual rhythm of the letters.
5-light layout (bold, easiest to overdo)
Five lights can look great on a Raptor—if you’re disciplined. The more modules you add, the less forgiveness you get for:
- tiny height differences
- slight tilt
- inconsistent angles
- reflections off the letter edges
Terbaik untuk:
- Show builds
- People who want a fuller “lit signature”
Typical mistake: “filling the whole grille.” The result can look like a cheap LED sign instead of a truck.
The layout rules that keep it looking factory
If you only steal one section from this article, steal this one.
Rule 1: Lock the height first
Pick one horizontal reference line and commit to it:
- the midline of the grille openings, or
- the midline that visually aligns across the “FORD” letters
Then ensure every module sits on that same plane. Even a small height mismatch becomes obvious at night.
Field check: stand 15–25 feet away, crouch slightly, and look across the row. Any “step” up or down will pop.
Rule 2: Mirror symmetry beats “close enough”
Humans are brutally good at spotting asymmetry on a centered object. Measure left-to-right, but also confirm by eye:
- same distance from the nearest vertical feature on both sides
- same angle (a tiny twist looks like one light is brighter)
Rule 3: Don’t hug the letter edges
Those big “FORD” letters can create hard reflections and weird hotspots—especially on glossy surfaces. If a module is too close to a letter edge, the letter becomes a reflector and the whole area looks harsh.
Better: place modules so the light passes through openings rather than washing the face of the letters.
Rule 4: Respect negative space
Negative space is what makes OEM design look expensive. Leave breathing room.
A clean Raptor setup often looks “right” because you notice the truck first and the lights second.
Placement zones: where Raptor lights usually look best
Instead of pretending there’s one perfect spot, think in zones.
Zone A: Outer-third placement (most OEM-looking)
Placing lights in the outer thirds of the grille often looks the most natural. It frames the front end rather than spotlighting the center.
Why it works:
- less reflection off central lettering
- calmer look from head-on
- still visible in mirrors and spray
Zone B: Mid-third placement (more presence, more risk)
This can work well for 4- or 5-light setups, but it’s where glare/reflection problems start to show up if angles aren’t controlled.
If you choose this zone:
- keep angles conservative (level or slightly down)
- avoid shining directly onto glossy plastic
Zone C: Center cluster (easy to make it look cheap)
Center clustering is where most “afterthought” installs live. It can still work—especially on 3-light setups—if the spacing is disciplined and the modules don’t turn the center into one bright patch.
“Looks great in daylight, ugly at night”: how to prevent that
Daytime photos hide a lot. Night driving exposes everything: reflections, glare, misalignment, and “hot” modules.
Control reflections before you blame brightness
If your grille has glossy black surfaces, chrome accents, or shiny letter edges, reflections can make moderate lights look aggressively bright.
Simple fixes (layout-level, not wiring-level):
- move modules slightly rearward (so light exits through openings)
- avoid placing modules directly behind shiny edges
- choose fewer modules rather than dimmer-looking clutter
Angle discipline matters
A tiny upward tilt can turn a marker accent into glare for other drivers—and a reflection machine for your own grille.
Keep modules:
- level, or
- slightly downward (a few degrees)
(For a deeper “why glare happens” breakdown, link to your existing lighting-aesthetics post.)
Durability reality: why Raptor installs shake loose when others don’t
Raptors see vibration, wind load, and real-world abuse. Many installs look perfect in the driveway and drift after a month.
What keeps aim from drifting
Without turning this into a mounting tutorial, here’s the practical rule:
- Two solid anchor points beat one “strap” point every time.
- If the bracket can flex by hand, it’ll flex on the road.
Plan for serviceability
If you need to remove half the grille to swap one module, you’ll postpone maintenance until it becomes a problem.
Aim for:
- access to fasteners without full front-end disassembly
- wire routing that doesn’t require cutting ties just to inspect
(For the full mounting/airflow/sensor principles, point readers to your existing mounting-focused article.)
A “before you buy” checklist for Raptor grille lights
This is where you save yourself returns.
- Depth check: do you have space for the module body dan the connector bend radius behind it?
- Consistent mounting points: can you mount each light without improvising a different bracket for each one?
- Surface reflections: are there glossy edges directly in front of where the light will shine?
- Symmetry plan: do you have a measured spacing plan (even a simple sketch)?
- Modes discipline: if the kit includes flash/strobe, decide now that those are for off-road/private property use only.
FAQ
How many grille lights look best on a Raptor?
Three is the safest OEM-plus look. Four can be perfectly balanced. Five can look great but requires stricter spacing and angle control.
Where should I avoid mounting Raptor grille lights?
Avoid spots that shine directly onto glossy letter edges or create a bright center blob. Also avoid any area that compromises sensors, airflow, or service access.
Can I run flashing modes on public roads?
Laws vary widely. In many places, forward-facing flashing auxiliary lights are restricted. Keep flashing for off-road/private property where permitted.