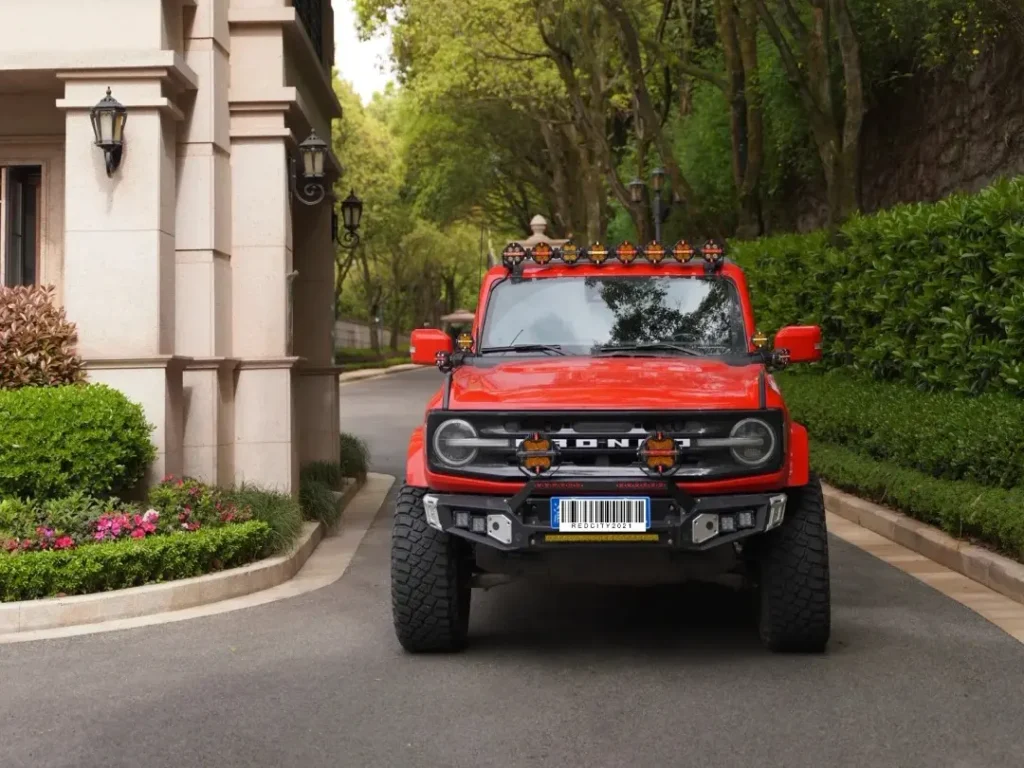
Auxiliary spotlights can be brilliant on dark country roads—but only if they’re wired properly. The goal is simple: power the lights directly from the battery, and use the car’s main beam (high beam) circuit only as a low-current trigger. That way you don’t overload factory wiring, you keep the setup reliable, and you reduce the risk of melted switches or blown circuits.
This guide covers both keywords people usually search for:
- how to wire spotlights on car
- how to wire car spotlights to main beam
I’ll keep it practical, with a clean pengantara-and-pembumian layout you can adapt to almost any vehicle.
What you’ll need (don’t skip this)
Core parts
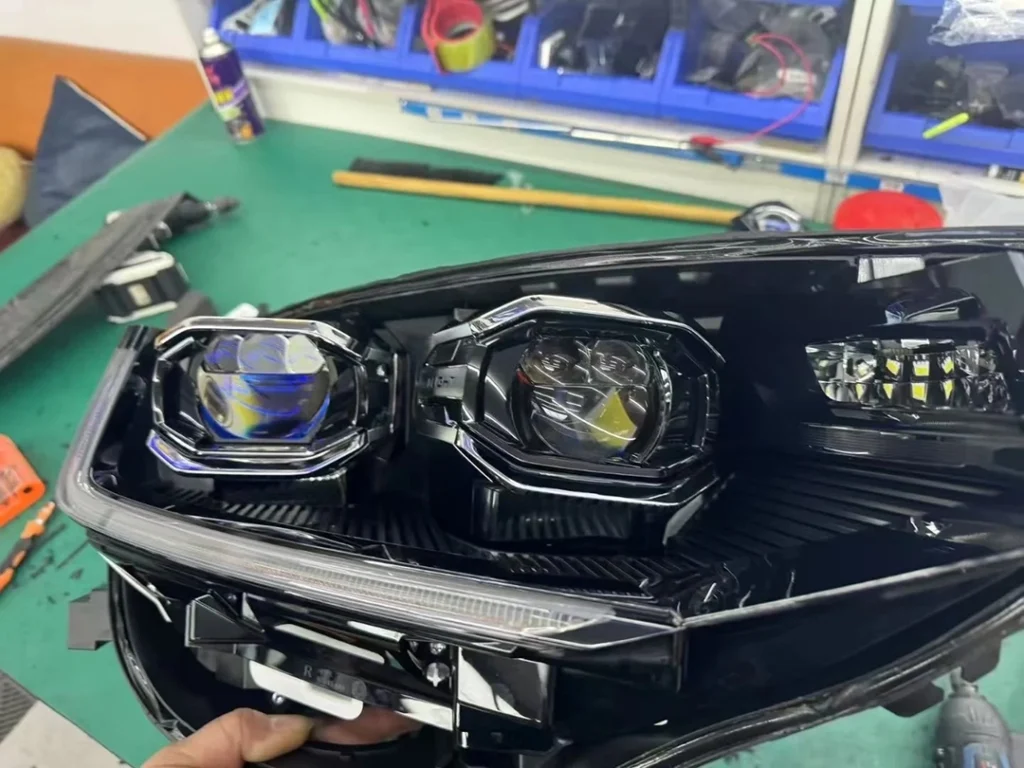
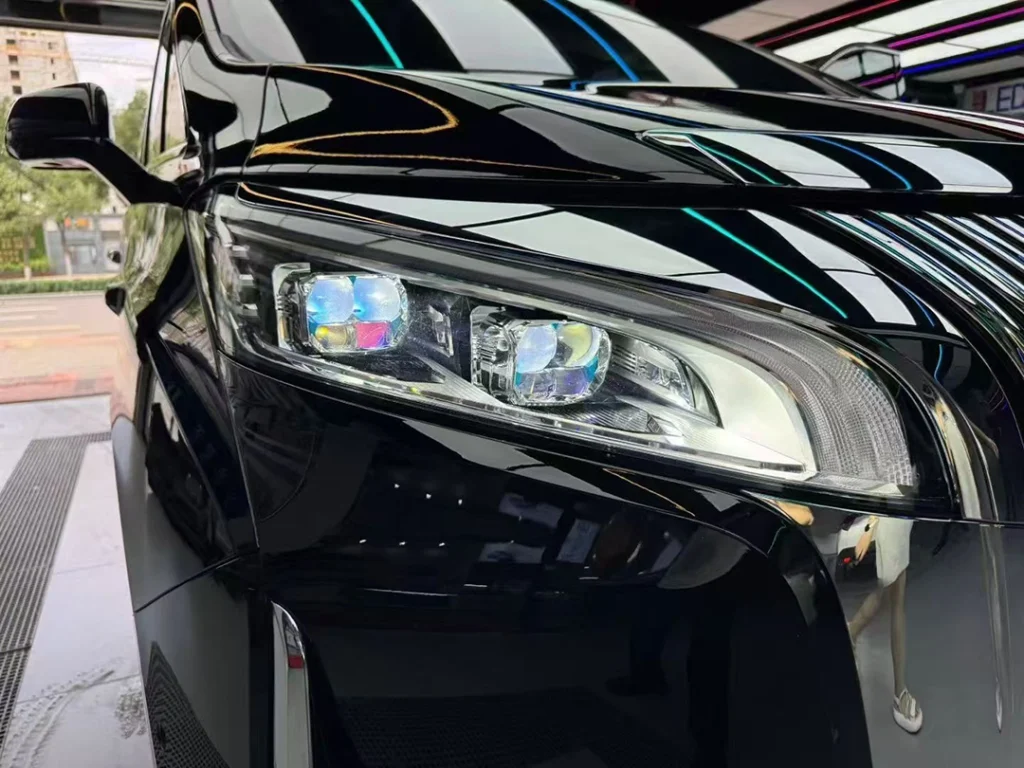
- Spotlights (pair or single)
- Automotive relay (12V, 4-pin or 5-pin). For most setups, a 40A relay is a safe, common choice.
- Inline fuse holder + fuse
- Proper wire (don’t guess—size it to the load)
- Ring terminals, spade terminals, heat shrink, good crimp tool
- Switch (optional but recommended) for an “arming”/enable function
- Split loom / corrugated conduit + zip ties for protection
Alat
- Multimeter or test light
- Pengupas/penekam wayar
- Socket set, basic hand tools
Safety first (the non-negotiables)
- Putuskan terminal negatif bateri before any wiring.
- Fuse the positive feed close to the battery (within 10–20 cm / 4–8 in is a good rule).
- Route wiring away from exhaust heat, belts, fans, and sharp edges.
- Ground properly: clean bare metal, solid bolt, and ideally use a star washer.
- If you’re unsure about local road rules for auxiliary lights, check—many regions require spotlights to work only with high beam and to have a tell-tale indicator or cover on-road.
Why you must use a relay (especially for high-power lights)
Spotlights often draw serious semasa. A pair of 100W halogen lights is 200W total.
Current draw is roughly:
- 12V system: 200W ÷ 12V ≈ 16.7A
- Real world can be higher at startup, and wiring losses add heat.
Factory high-beam wiring and stalk switches were not designed to carry that extra load. A relay lets the high beam circuit do what it’s good at: isyal—not supply.
The clean, standard wiring layout (battery → fuse → relay → lights)
Here’s the basic circuit you want. Read it like a map.
BATTERY (+)
   |
 [FUSE]
   |
 Relay pin 30
   |
 Relay pin 87  -------------> Spotlight (+) ---> Spotlight (-) ---> CHASSIS GROUND
   |
 (power out)

Relay coil (control side):
Relay pin 85  -----> Ground
Relay pin 86  -----> Main beam (+) trigger  (optionally through a dash switch)
Relay pins (most common)
- 30 = power in (from battery, fused)
- 87 = power out (to spotlights +)
- 85 / 86 = coil (trigger circuit). One goes to ground, the other gets +12V when you want the relay to click on.
- 87a (only on 5-pin relays) = normally closed output (usually not used for spotlights)
Step-by-step: How to wire spotlights on a car
Step 1: Mount the lights and plan your cable route
- Fit the lights solidly (bumper bar, grille bracket, or a proper mounting bar).
- Decide where the relay will live (engine bay, near battery/ fuse box).
- Plan a route that won’t rub, pinch, or cook.
Step 2: Run the main power feed (battery to relay)
- From battery positive to an inline fuse holder
- From the fuse holder to relay pin 30
Fuse size tip:
Add up the wattage, convert to amps, then choose a fuse slightly above your normal draw.
- Example: 2 × 55W = 110W → 110/12 ≈ 9.2A → use 15A fuse
- Example: 2 × 100W = 200W → 16.7A → use 20A–25A fuse (depending on wire size)
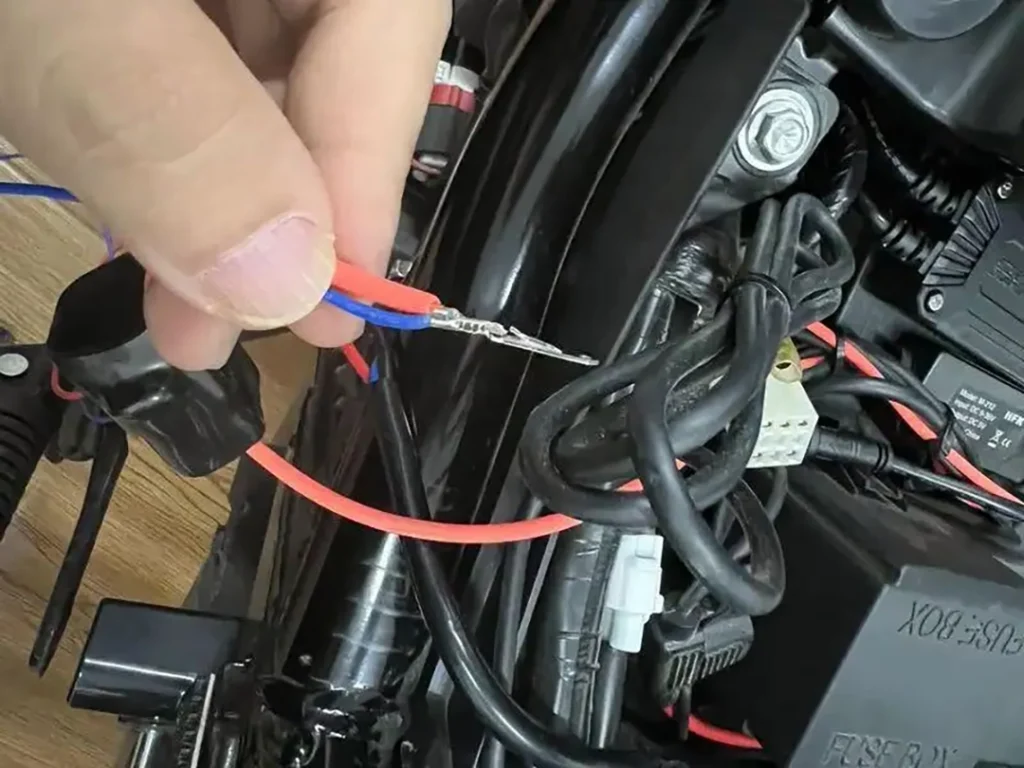
Step 3: Relay output to the spotlights
- Relay pin 87 to the spotlight positive (split to left/right as needed)
- Spotlight negative to a good chassis ground (or run a dedicated negative back to battery negative if you want the cleanest voltage)
Step 4: Ground the relay coil
- Relay pin 85 to chassis ground (short, clean, solid)
Step 5: Trigger the relay from the main beam (high beam)
This is the part people mean when they ask how to wire car spotlights to main beam.
You need a high beam +12V signal wire. You can find it:
- behind the headlight connector
- at the fuse box (high beam fuse output)
- at a factory high-beam relay output (vehicle dependent)
Do not trust wire colors. Use a multimeter:
- High beam OFF: should read ~0V
- High beam ON: should read ~12–14V
Then connect that high-beam + wire to relay pin 86.
At this point, your spotlights will turn on automatically whenever high beam is on.
Add an “arming” switch (recommended)
Many drivers want spotlights to be capable of working with high beam, but not always active. The clean way is to install a switch in the trigger line.
High beam (+)  ---> Dash switch ---> Relay pin 86
Relay pin 85   ---> Ground
So you get:
- Switch OFF: spotlights stay off even if high beam is on
- Switch ON: spotlights follow high beam
Tip: Use a small LED rocker switch so you can see when the system is armed.
What about cars that switch the ground side? (important detail)
Not every vehicle switches +12V to the high beam. Some switch the tanah side (“negative switching”). That’s why testing matters.
How to tell
- If you probe the suspected high-beam wire and it never shows +12V but changes continuity to ground when high beam is on, it may be ground-switched.
What to do
- You can still use a relay, but you must wire the coil so it sees a proper trigger.
- Easiest approach: take coil +12V from an ignition/ACC source and let the high-beam circuit provide the switching ground (or vice versa), depending on what your vehicle offers.
If this sounds fuzzy, it’s because it varies a lot by car. The key principle stays the same: factory circuit triggers the relay coil; battery supplies the lights.
Wire size and heat: don’t cheap out
For most spotlight installs:
- Up to ~10–15A: 14 AWG is commonly used
- ~15–25A: 12 AWG is safer for longer runs
- Higher loads or long cable runs: consider 10 AWG
Also, protect cables:
- Gunakan split loom
- Add a rubber grommet wherever you pass through metal
- Secure every 15–20 cm with ties/clips so wires don’t vibrate and fail
Weatherproofing and durability
- Gunakan heat shrink on all crimps (adhesive-lined is best)
- Keep the relay terminals facing down if possible, or use a sealed relay/relay box
- Don’t rely on electrical tape alone—tape is fine as a top layer, not as your only insulation
Common mistakes (and how to avoid them)
- No relay
Works for a week, then the switch or factory wiring gets hot. - Fuse mounted far from the battery
If the cable shorts before the fuse, the fuse won’t save you. - Bad ground
Flickering lights, weird behavior, and hot wires often come from a painted/rusty ground point. - Tapping the wrong high-beam wire
DRLs and bi-xenon/LED systems can complicate things—test with a meter. - Overloading an “ACC” add-a-fuse
ACC is fine for the relay coil, not for powering the lamps.
Quick troubleshooting
- Spotlights don’t turn on at all
- Check fuse (and that it’s getting battery power)
- Confirm relay clicks when high beam turns on
- Check ground points
- Verify relay pin layout (some relays are labeled differently)
- Relay clicks but lights stay off
- Check pin 30 has power
- Check pin 87 output when relay is energized
- Check lamp positives/negatives and connectors
- Lights flicker while driving
- Bad ground, loose connector, or undersized wire
- Mount relay securely; vibration kills cheap terminals
- Fuse blows immediately
- Short to ground in the positive run
- Wrong relay pins used (e.g., 87a confusion)
- Water in a connector
Final check: test like a pro
After reconnecting the battery:
- Engine OFF: switch ON, high beam ON → relay should click, spotlights should light
- High beam OFF → spotlights should go OFF
- Engine running: check for flicker and feel for hot wires after a few minutes
- Aim the lights responsibly (spotlights too high = glare and trouble)
If you tell me your spotlight wattage (or model) and whether your car is halogen or LED high beam, I can suggest a fuse size + wire gauge combo and a cleaner trigger method for your exact setup.