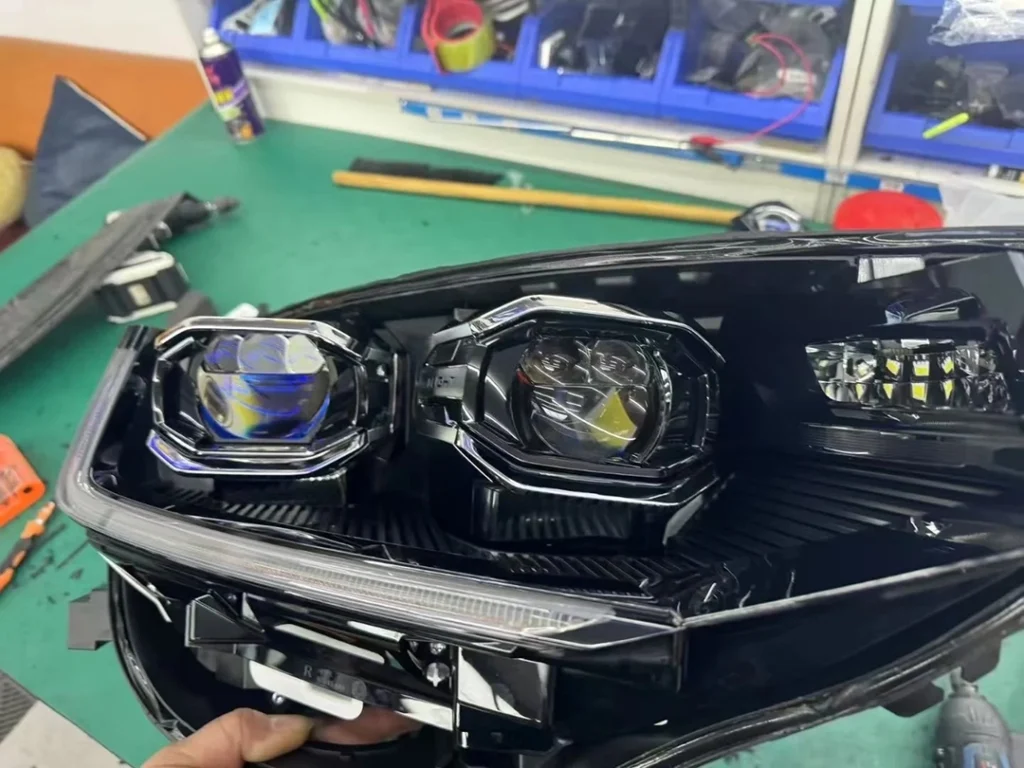
There’s a moment that sells almost everyone on lampu gril kereta.
You finish the install, step back, and the front end finally has a “face.” Not loud. Not trying too hard. Just… finished. It looks like something the vehicle should’ve come with.
Then real life shows up.
A week later you hit a set of potholes you didn’t see. Or you do a normal highway run in crosswind. Or you wash the truck and blast the grille because it’s full of bugs. And suddenly the lights still work, but they don’t feel as good anymore—because one side is slightly off, or the whole thing has a faint buzz at a certain RPM, or the bar looks like it’s leaning when you catch it in a reflection.
That’s why this piece exists.
You already have posts covering the big picture (what grill lights are, how to choose them, how to install and stay legal) and the ugly part (flicker, dead modules, warnings). This one stays in a tighter lane: mounting. Not wiring quality. Not troubleshooting. Just how to mount Lampu gril LED so they look intentional and tetap intentional.
Because in the long run, “mounted well” is the difference between:
- a mod you’re proud of every time you walk up to the car
- and a mod you quietly stop noticing until it annoys you
The Problem Nobody Plans For: Grill Lights Don’t Fail First—They Drift
Most people think failure means “it won’t turn on.” In the grille, the more common failure is slower and more irritating:
- the light shifts a few degrees and now looks crooked at night
- a bracket starts to resonate and you get a buzz you can’t un-hear
- the grille plastic takes the load and eventually flexes or cracks
- the light ends up sitting in the wrong place for airflow or sensors
You don’t need a motorsport-grade solution. You just need a mounting strategy that respects what the front of a vehicle actually experiences: vibration, heat cycles, wind load, water, and time.
If you get mounting right, most installs feel “OEM-plus.” If you get it wrong, even expensive car grill lights can end up looking like they were zip-tied on in a parking lot.
Start With Placement, Not Hardware
Before you pick a bracket, pick a location. The bracket is just the tool; placement is the decision.
Here’s how I like to think about placement in the grille area:
1) “What is going to hold this up?”
If the only thing supporting the light is thin grille plastic, you’re asking a decorative part to behave like a structural part. It might hold today. It won’t hold forever.
A better plan is to tie the light (or its bracket) into something that’s meant to be solid:
- a metal support behind the grille
- a factory bolt point
- a stiff section of the radiator support area
- a reinforced mounting tab (not a flimsy clip)
If you can’t mount to structure directly, you can still make it work—but you need to spread load across multiple points and avoid long “lever arms” that amplify vibration.
2) “Can the beam actually exit cleanly?”
Some grille designs look wide open until you turn a light on behind them. Then you realize the bars slice the output into weird segments, and the whole front end looks busy instead of clean.
Before committing, hold the light in place and look straight through the grille openings:
- Is the output going to pass cleanly?
- Or is the grille going to chop it up into scattered hotspots?
Clean exits look intentional. Chopped exits look like you forced it.
3) “What else lives behind this spot?”
Behind many modern grilles you’ll find:
- hood latch components
- horns
- intercoolers / radiators
- active grille shutters (on a lot of newer vehicles)
- radar units or cameras
A location can be perfect visually and still be a bad idea mechanically. You want clearance that stays clearance, even when the vehicle flexes and shakes.
The Two Mounting Styles That Keep Showing Up (And Why One Lasts Longer)
You’ll see a lot of installs fall into two categories:
Style A: “Hang it off the grille”
Fast, simple, looks fine at first. This is where lights get mounted to grille slats, honeycomb mesh, or plastic ribs.
It can work for small, lightweight modules. But the grille is still plastic, and plastic moves. Over time this style is more likely to:
- sag
- rotate
- rattle
- fatigue the grille
Style B: “Tie it into structure”
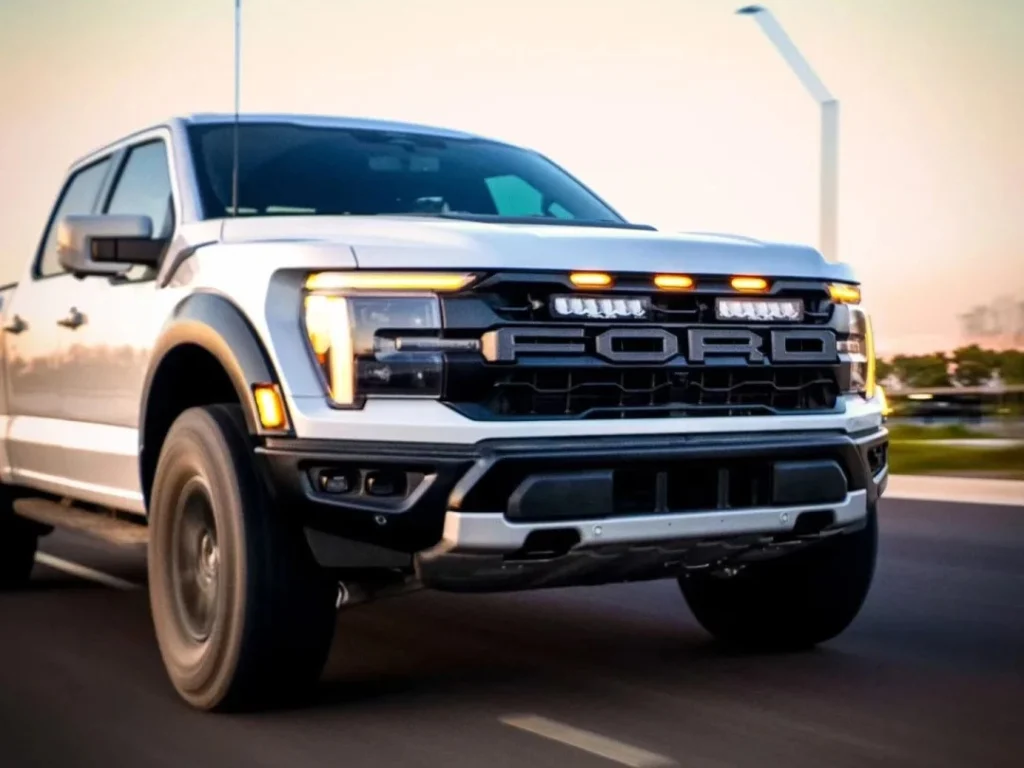
Slightly more work up front, much less work later. This is where the light mounts to a bracket that picks up a stronger point behind the grille.
This style is what makes Lampu gril LED feel “built-in,” especially on trucks, off-road builds, or vehicles that see rough roads.
If you’re choosing between “easy now” and “never touch it again,” structure wins.
Brackets: Universal vs Vehicle-Specific (What Actually Matters)
People overthink bracket categories and underthink bracket behavior.
Vehicle-specific brackets
If a bracket is designed for your model, the best benefit usually isn’t strength—it’s symmetry dan repeatability. You get:
- matched left/right positioning without eyeballing
- less improvisation
- fewer “almost fits” compromises
Universal brackets
Universal brackets are fine when used correctly. Their weakness is that they allow more “technically mounted” outcomes that aren’t mechanically smart—like a long cantilever off a single bolt.
If you go universal, your job is to make it behave like a vehicle-specific bracket:
- keep the bracket short and stiff
- avoid single-point rotation
- use hardware that doesn’t loosen
- distribute load if the grille area is flexible
The real question isn’t universal vs specific.
The real question is: Does this bracket turn the light into a lever? Or does it turn the light into part of the structure?
The Anti-Drift Rules (The Stuff That Keeps Lights Straight Months Later)
These aren’t fancy. They’re just the reasons some installs stay aligned.
Rule 1: Avoid single-bolt “hinges”
If your light can rotate around a single mounting bolt, sooner or later it will. It might rotate one degree. That’s enough to look crooked.
Whenever possible:
- use two mounting points
- use a bracket shape that mechanically prevents rotation
- or brace the bracket so it can’t twist
Rule 2: Shorter is stiffer
A long bracket arm turns vibration into movement. A short, direct mount turns vibration into… basically nothing.
If you’re tempted to mount a light far away from the mounting point using a long strip of metal, pause and look for a closer mounting point.
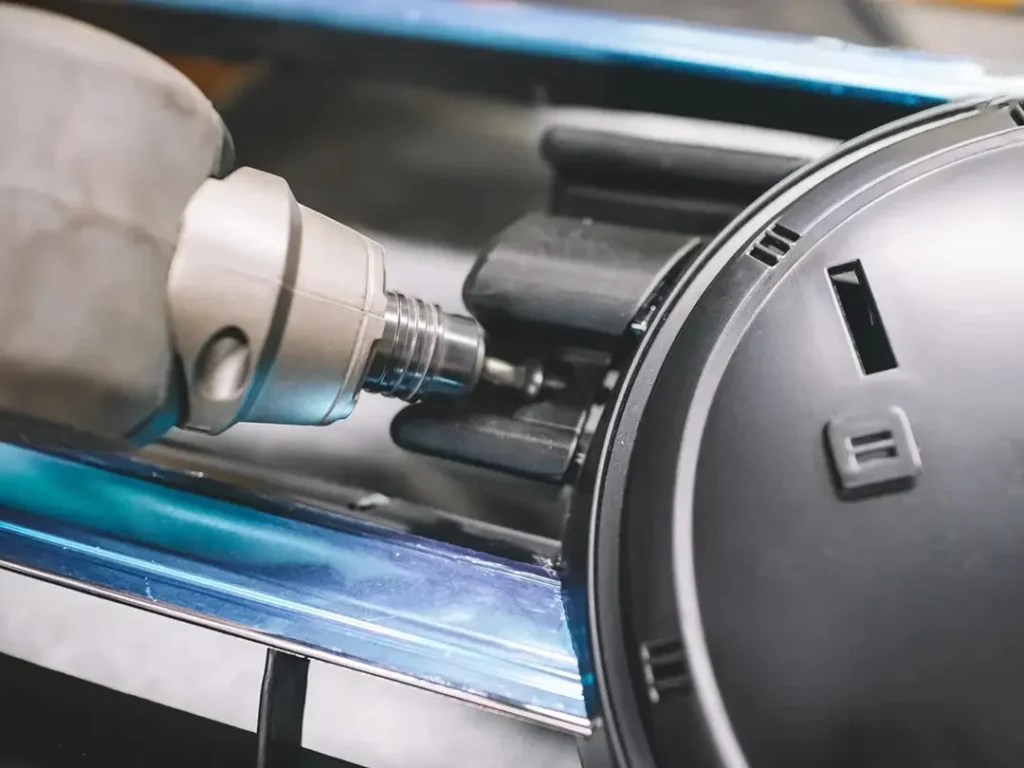
Rule 3: Don’t count on “tight” to beat vibration
Vehicles loosen hardware. That’s not a product flaw; it’s physics.
Gunakan fasteners that stay put:
- nylon insert lock nuts
- proper lock washers where appropriate
- thread locker where you don’t need frequent adjustment
You don’t need to turn this into a hardware lecture. Just don’t pretend the front of a vehicle is a calm environment.
Rule 4: Eliminate the buzz before it becomes “normal”
If metal touches metal in a way that can chatter, it will. If a bracket edge can tap a plastic rib, it will. If a light housing can kiss a grille bar under vibration, it will.
A quiet install usually means:
- nothing is “barely touching”
- there’s consistent clearance
- any contact points are intentional and damped
This is where a small rubber isolator boleh help—but don’t use soft material to compensate for a weak mount. Use it to remove noise from an already solid mount.
Airflow: Don’t Build a Wall in Front of Your Cooling Stack
Grille-mounted lighting is tempting because it’s centered and visible. The tradeoff is that the center of the grille is often doing real work feeding air to:
- radiator
- intercooler (on turbo vehicles)
- transmission cooler
- AC condenser
A small light usually won’t ruin a cooling system. But a dense cluster of lights right in the most active airflow zone can be a bad deal—especially if you tow, drive in heat, or spend time off-road at low speeds.
A practical way to think about it:
- Edge placement is usually safer than center placement for airflow.
- Spacing helps. A row of tightly packed modules is more restrictive than the same number spread with gaps.
- Depth matters. A light mounted right against the cooling stack disrupts airflow more than one with reasonable spacing.
If you don’t know how sensitive your vehicle is, assume it’s more sensitive than you want it to be. Nobody wants the “my grill lights look great but my temps climbed” conversation.
Active Grille Shutters: The Hidden “Don’t Touch This” Area
If your vehicle has active grille shutters (movable slats behind the grille), treat them like a moving machine—because they are.
The risk isn’t theoretical:
- hardware can interfere with shutter movement
- shutters can hit a bracket under flex
- interference can lead to noise, failure, or warnings
The tricky part is that shutters can be closed when you’re working and open later while driving. So “it clears right now” doesn’t mean “it clears always.”
If you suspect shutters are present:
- look behind the grille for a louvered assembly
- confirm the travel path
- keep lights and brackets away from that movement zone
When in doubt, mount lights higher, lower, or outward—anywhere the shutters don’t need to operate.
Sensor Clearance: Make Space for Radar/Cameras Without Getting Weird About It
Modern front ends can include radar behind emblems, cameras, and sensor brackets. You don’t need to be a calibration tech to mount grill lights responsibly—you just need to avoid obvious interference.
Two mounting mistakes cause most issues:
1) Putting hardware in the “forward cone”
Sensors generally need a clear path forward. If you mount a light or bracket right in front of that path, you’re gambling.
A simple check:
- identify where the radar/camera sits (often center grille or behind emblem)
- look straight forward from that point
- if your light occupies that line of sight, it’s a bad location
2) Creating a vibrating neighbor
Even if you don’t block a sensor, mounting something heavy, loose, or resonant near a sensor bracket is asking for weird behavior later. Sensors live on brackets too. Brackets can vibrate.
So keep mounts solid, keep clearance, and avoid “almost touching” near anything sensor-related.
This is one of the reasons outward placement can be your friend: you still get presence and symmetry, but you stay away from the center sensor zone.
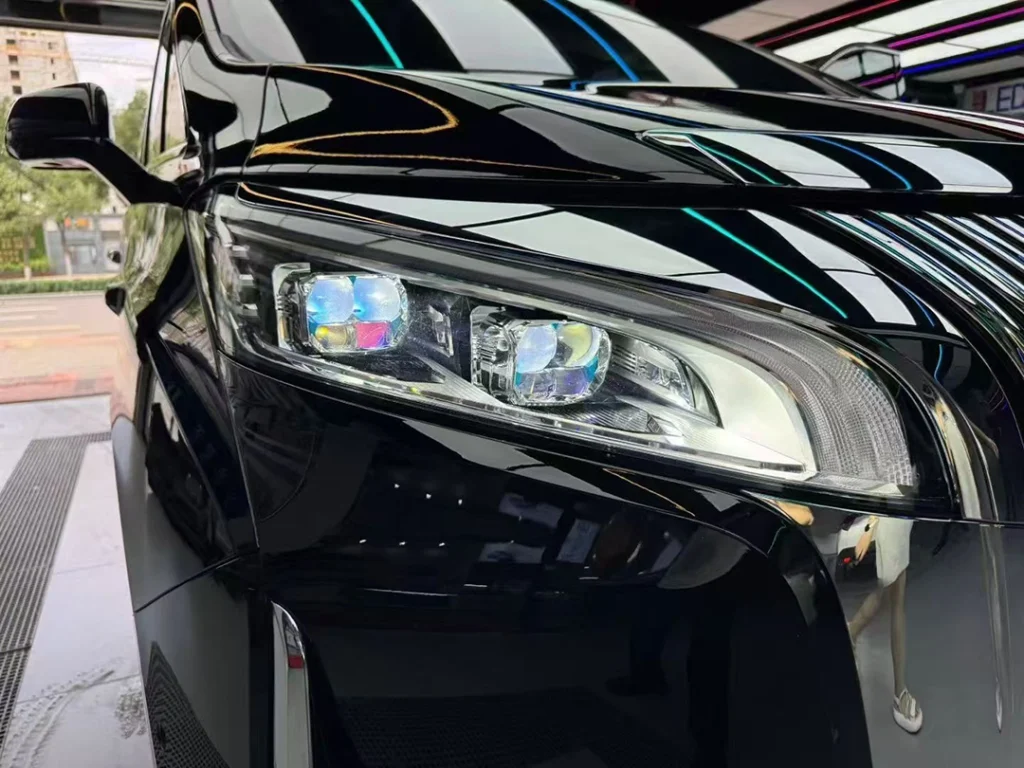
Alignment: The Part That Makes It Look Factory (Or Like You Settled)
Banyak lampu gril kereta installs look “aftermarket” for one simple reason: the lights aren’t level.
In daylight, you might not notice. At night, you definitely will. Light exaggerates misalignment and reflections.
A few alignment habits that help:
- Use the vehicle’s real reference lines. Hood edge, grille bars, emblem centerline—pick something consistent.
- Step back farther than you think. Ten feet isn’t enough. Try 20–30 feet.
- Check at night before final tightening. This is where you’ll catch the “slightly up on the left” issue.
Also watch reflections. Chrome or gloss black trim can bounce light back and make a clean setup look messy. If you see glare patches on your own grille, a small angle adjustment can fix what brightness never will.
The “Done Means Done” Final Check (So You Don’t Reopen the Grille Next Week)
Before you put everything back together, do a quick sanity pass:
- Stability: grab the light housing and gently shake. It should feel like part of the car.
- Clearance: confirm nothing can contact the radiator, latch, shutters, or sensor brackets under vibration.
- Symmetry: confirm left/right spacing and level.
- Airflow sanity: make sure you didn’t build the densest obstruction in the center core area.
- Road reality: after your first drive, re-check mounting points once the vehicle has heat-cycled.
That last step sounds picky, but it saves a lot of “why did it loosen?” surprises. Heat cycles settle hardware.
Closing: LED Grill Lights Should Look Good dan Live Well
The best Lampu gril LED don’t just shine on install day. They stay straight. They stay quiet. They keep their symmetry. They don’t create airflow problems. They don’t crowd sensors. They keep the front end looking sharp without demanding your attention every two weeks.
If you want car grill lights that feel like a real upgrade, mount them like you plan to keep them.
Not “good enough to drive around the block.”
Good enough that you forget about the mount—and just enjoy the look.